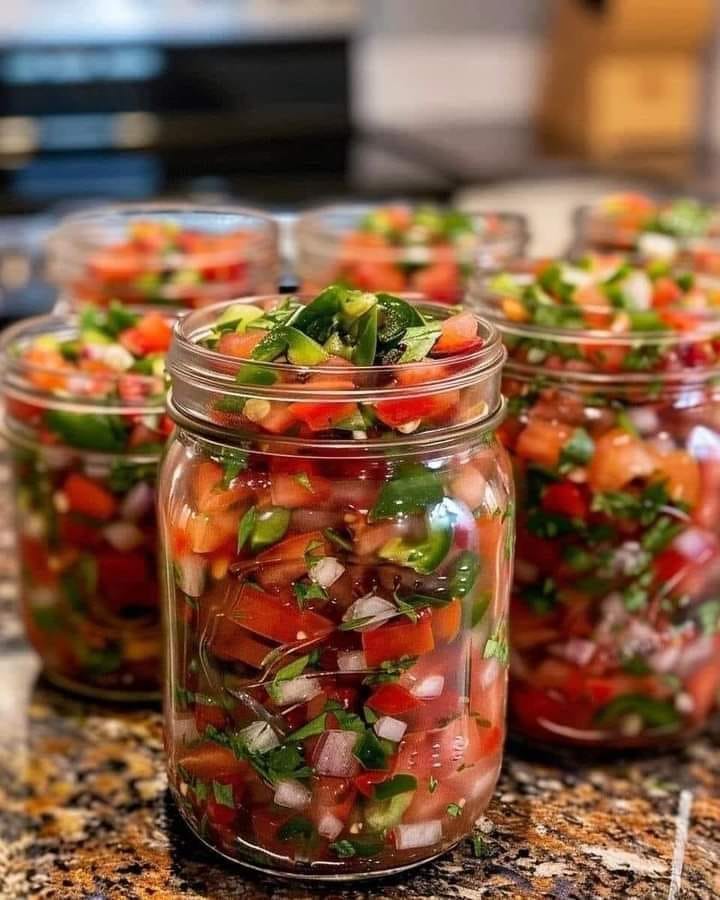
Ingredients:
- For the Pickles:
- 5 lbs of pickling cucumbers (about 4 inches long)
- 1/2 cup of pickling salt (do not use regular table salt)
- 4 cups of water
- 1 cup of white vinegar (5% acidity)
- 4 cloves of garlic, crushed
- 2 teaspoons of whole black peppercorns
- 2 teaspoons of mustard seeds
- 4 teaspoons of dill seeds or 4 fresh dill sprigs (or to taste)
- Optional: 1/2 teaspoon of red pepper flakes for heat
- For the Canning:
- 5-10 sterilized pint or quart-sized jars with lids and bands
- A large pot for canning
Instructions:
Step 1: Prepare the Cucumbers
- Wash the Cucumbers: Rinse the cucumbers under cold water. Trim the ends (about 1/4 inch off the blossom end) to help the pickles stay crisp.
- Brine the Cucumbers: In a large bowl, dissolve 1/2 cup of pickling salt in 4 cups of cold water. Add the cucumbers to the brine and let them soak for 1-2 hours. This helps draw out excess moisture.
Step 2: Make the Pickling Brine
- Combine Ingredients: In a saucepan, combine 1 cup of white vinegar, 1 cup of water, and additional pickling salt (about 1 tablespoon). Add garlic, black peppercorns, mustard seeds, dill seeds, and optional red pepper flakes.
- Heat the Brine: Bring the mixture to a simmer over medium heat, stirring until the salt dissolves. Remove from heat.
Step 3: Pack the Jars
- Prepare Jars: While the brine is heating, place your sterilized jars on a clean kitchen towel or rack.
- Pack the Cucumbers: Fill each jar with cucumbers, packing them tightly but not squashing them. You can layer with extra garlic, dill, or spices as desired.
Step 4: Add the Brine
- Pour the Brine: Carefully ladle the hot brine over the cucumbers in each jar, leaving about 1/2 inch of headspace at the top.
- Seal the Jars: Wipe the rims of the jars with a clean cloth to ensure a good seal. Place the lids on and screw on the bands until they are fingertip-tight.
Step 5: Process the Jars
- Water Bath: In a large pot, bring enough water to a boil to cover the jars by at least an inch. Process the jars in boiling water for about 10-15 minutes to seal them properly.
- Cool the Jars: Remove the jars from the water bath and let them cool on a towel or rack. You should hear a popping sound as the lids seal.
Step 6: Store and Enjoy
- Store the Jars: Once cooled, store the jars in a cool, dark place. Let them sit for at least 2 weeks to develop flavor before opening.
- Serving Suggestions: Enjoy your homemade dill pickles on sandwiches, burgers, or as a side snack!
Tips + Tricks for Recipe Success
- Choose the Right Cucumbers: Pickling cucumbers are firmer and have fewer seeds, making them ideal for canning. Look for cucumbers that are firm and unblemished.
- Adjusting Spices: Feel free to adjust the spices and flavors to your taste. If you prefer sweeter pickles, consider adding some sugar to the brine.
- Crisp Pickles: To ensure your pickles stay crisp, you can add a few grape leaves or a pinch of alum to each jar.
- Label Your Jars: If you make multiple jars, label them with the date and contents to keep track of freshness.
Serving Suggestions
- Use pickles as a crunchy snack on their own or alongside cheese and crackers.
- Slice them up to add to salads or sandwiches for extra flavor.
- Serve them as a side dish with BBQ, burgers, or fried foods.
Time Required
- Prep Time: 1 hour (including brining time)
- Canning Time: 30 minutes
- Total Time: Approximately 1.5 hours
With this recipe, you’ll be able to fill several jars and enjoy your delicious homemade dill pickles for months to come! Let me know if you need any more help or adjustments!
