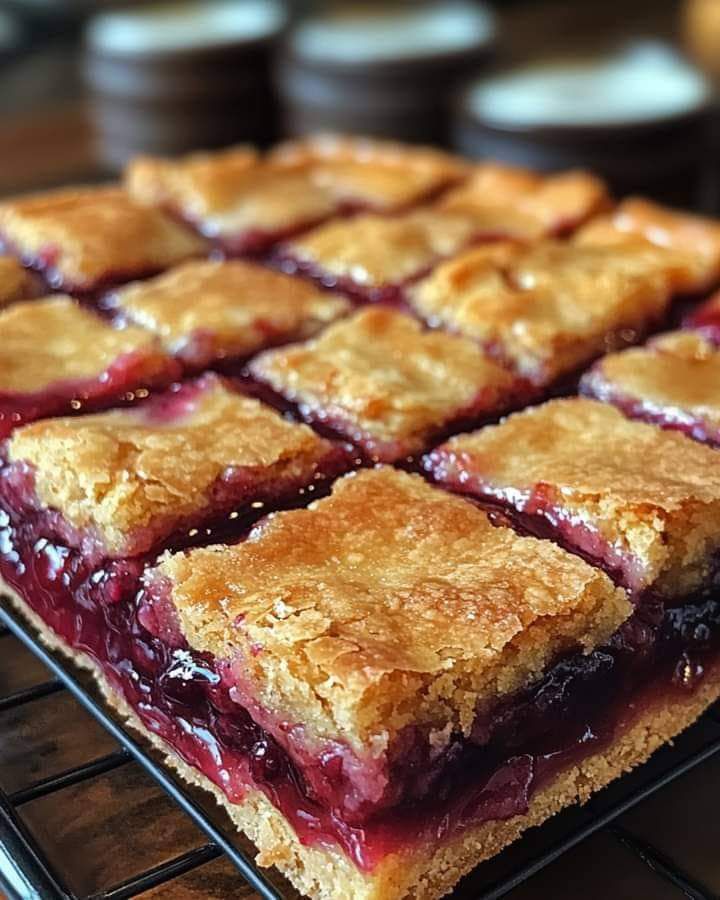
Cherry Pie Bars are a delicious and easy-to-make dessert that combines the classic flavor of cherry pie in a fun, portable bar form. These bars have a buttery, flaky crust, a sweet cherry filling, and a crumbly topping. Perfect for picnics, potlucks, or just as a sweet treat, these Cherry Pie Bars will be a hit with anyone who loves fruity desserts!
Ingredients
For the Crust and Topping:
- 2 ½ cups all-purpose flour
- 1 cup granulated sugar
- 1 teaspoon baking powder
- ½ teaspoon salt
- 1 cup unsalted butter, cold and cut into cubes
- 1 large egg
For the Cherry Filling:
- 1 (21 oz) can cherry pie filling
- 1 tablespoon lemon juice
- 1 tablespoon cornstarch (optional for thicker filling)
For Garnish (Optional):
- Powdered sugar for dusting
Instructions
Step 1: Prepare the Crust and Topping
- Preheat the oven to 350°F (175°C). Grease a 9×13-inch baking pan or line it with parchment paper for easy removal of the bars.
- In a large mixing bowl, combine flour, sugar, baking powder, and salt. Stir to combine.
- Add the cold butter to the dry ingredients and cut it in with a pastry cutter or your fingers until the mixture resembles coarse crumbs.
- Add the egg and stir until the dough starts to come together.
- Divide the dough into two portions: one for the base and one for the topping. Press two-thirds of the dough into the bottom of the prepared baking pan to form the crust.
- Set aside the remaining dough to use for the topping.
Step 2: Make the Cherry Filling
- In a medium bowl, combine the cherry pie filling and lemon juice. If you want a thicker filling, mix in cornstarch to help thicken it as it bakes.
- Spread the cherry filling evenly over the prepared crust in the baking pan.
Step 3: Add the Topping
- Crumble the remaining dough over the cherry filling. The dough should cover most of the filling but leave some gaps for a rustic look.
Step 4: Bake the Bars
- Bake the bars in the preheated oven for about 40-45 minutes, or until the top is golden brown and the filling is bubbling.
- Let the bars cool completely in the pan on a wire rack. The filling needs time to set, so allow them to cool for at least an hour before slicing.
Step 5: Serve and Enjoy
- Once the bars have cooled and set, cut into squares or rectangles.
- For an extra touch, dust with powdered sugar before serving.
Serving Suggestions
- These Cherry Pie Bars are perfect on their own, but you can serve them with a scoop of vanilla ice cream or a dollop of whipped cream for added indulgence.
- They make a great dessert for family gatherings, potlucks, or picnics.
Storage
- Store leftover bars in an airtight container at room temperature for up to 3-4 days.
- For longer storage, you can refrigerate them for up to 1 week or freeze for up to 3 months.
Tips for the Perfect Cherry Pie Bars
- Butter Tip: For the best texture, make sure the butter is cold when mixing it into the dough.
- Cherry Filling: If fresh cherries are in season, you can use them instead of canned pie filling. Just simmer the cherries with sugar, lemon juice, and a little cornstarch until it thickens into a pie-like filling.
- Texture: Let the bars cool completely before cutting into them. This helps the filling set and prevents the bars from being too messy.
Time
- Preparation Time: 15 minutes
- Baking Time: 40-45 minutes
- Cooling Time: 1 hour
- Total Time: 2 hours
Nutrition (per serving)
- Calories: 250
- Fat: 12g
- Carbohydrates: 35g
- Protein: 2g
- Sodium: 100mg
Conclusion
Cherry Pie Bars are a perfect treat for anyone who loves fruity desserts with a buttery, crumbly topping. With a simple combination of ingredients and easy steps, you can create a delicious dessert that everyone will love. Whether you’re serving them at a party or enjoying them as a treat at home, these bars are sure to be a hit!
